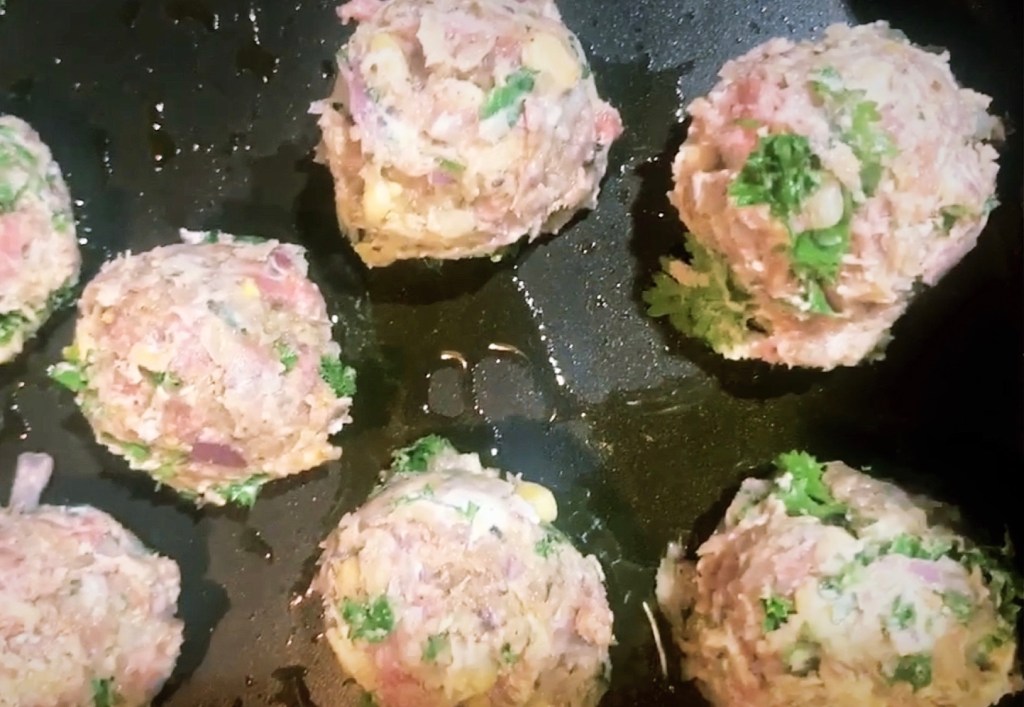
I’m in the process of completely eating out of my freezer in terms of meats because I tend to save on quality meats by buying them only when they’re on sale. So I had a pound of ground grass fed lamb that I bought a few months back only because of the sale and the fact that maybe I can switch from my usual chicken and occasional fish and beef animal protein diet.
Well I did it! I thawed and used it. Found this amazing recipe online that included spices that I hadn’t tried before – like cardamon; As well as my occasional favorites – pine nuts cilantro and tahini (but never together) – Mouth watering right!? Dig in – Let’s go!
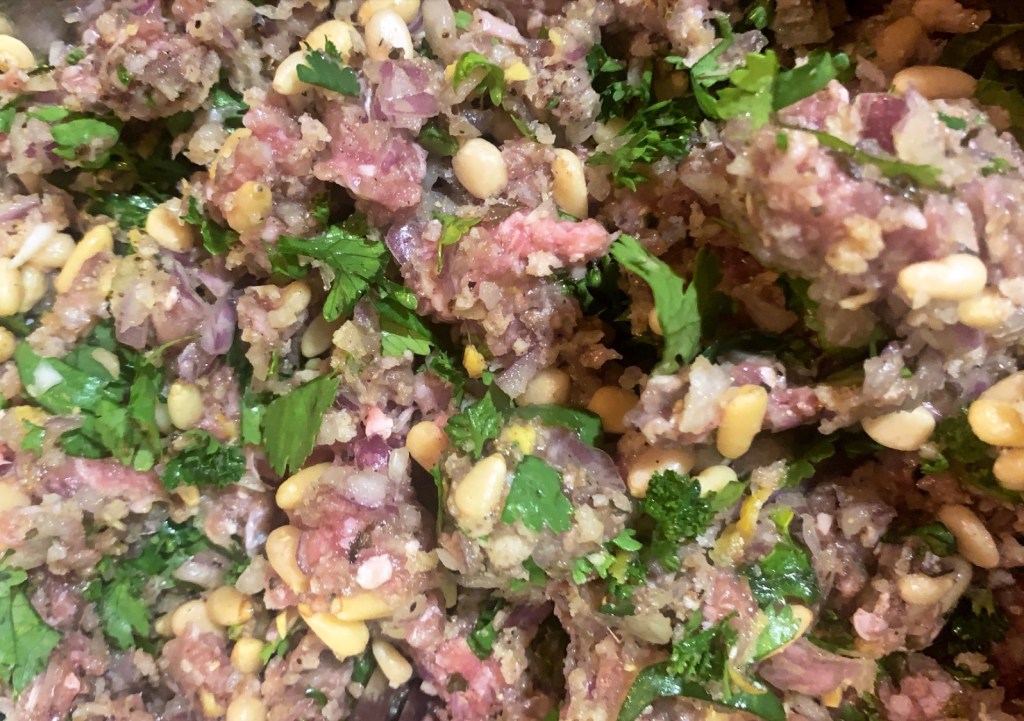
Ingredients:
1lb ground lamb
med red onion
minced garlic
2 inch piece of ginger
1/4 c bread crumbs
Olive, coconut or avocado oil
Lemon zest (1 lemon)
Herbs (cilantro, mint and parsley) to taste
half cup pine nuts
half cup crumbled cheese (goat or feta)
large egg (beat)
1tsp ea (cardomon, blk pepper, salt)
half tsp cinnamon
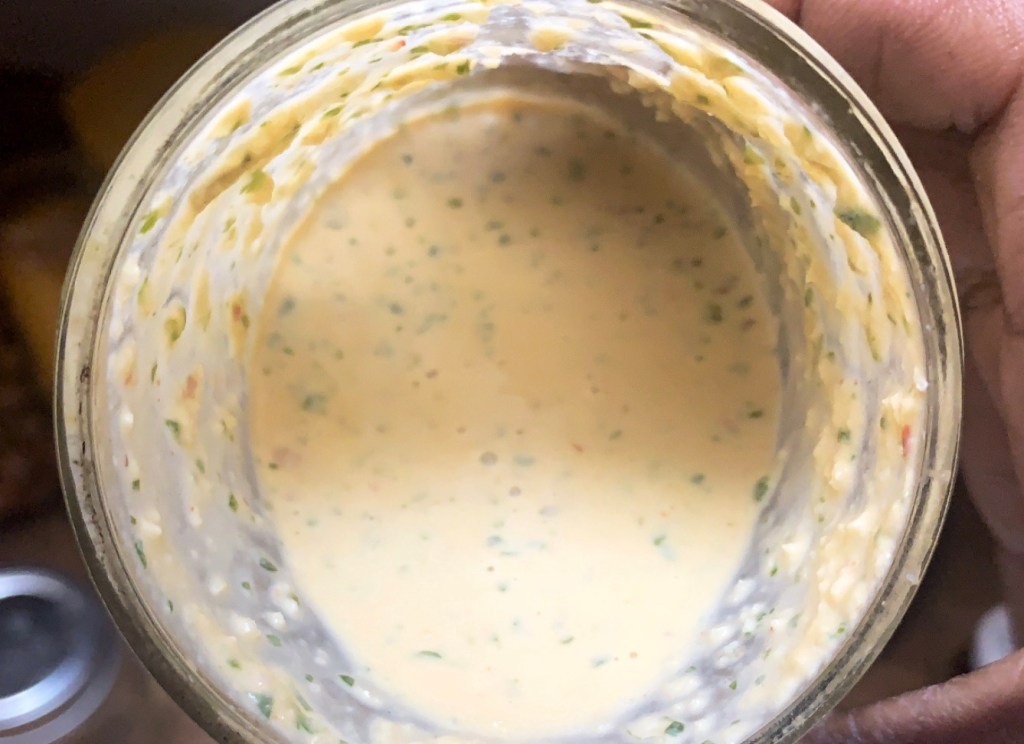
The sauce is a mix between tangy, spicy and sweet. In other words – so good!! Start with minimal amounts of the below ingredients and build from there based on taste. Remember you can always add but you can never subtract ingredients. So add cautiously. I also added a tiny bit of spicy finely chopped salsa to it for a bit more texture
1/3 cup tahini
water (amount depends on desired thickness)
sriracha or hot sauce
maple syrup
salt (to taste)
lemon juice (1 lemon)
Cilantro – handful
Mix tahini and lemon juice then adding enough water to make a thin sauce. Add salt to taste.
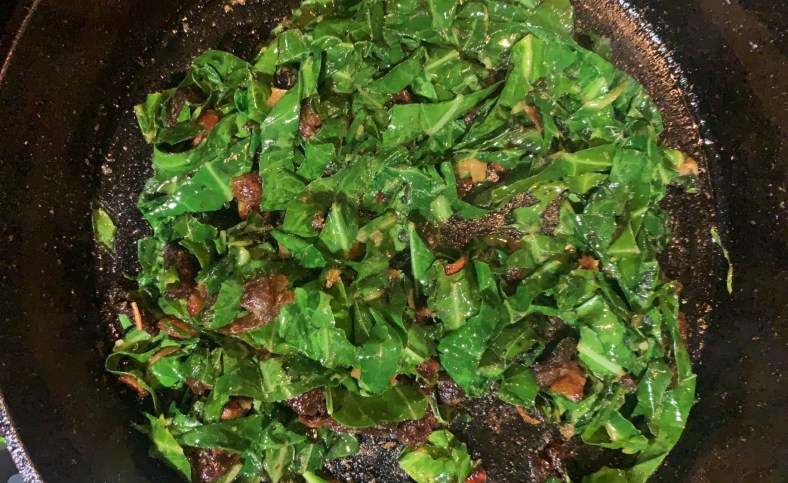
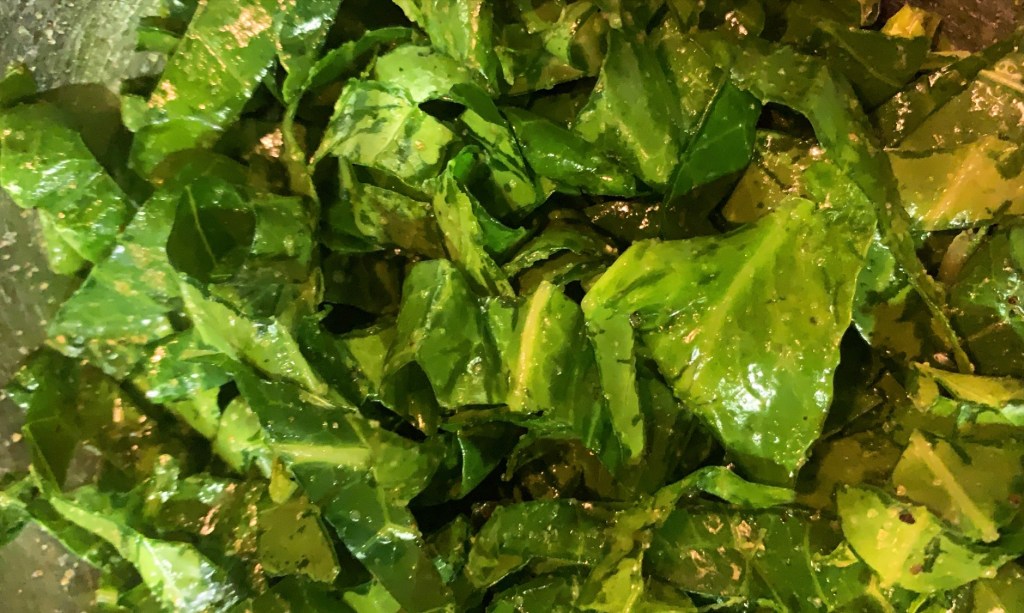
This recipe is so good. You probably won’t want collard greens any other way after eating this. Start by cleaning and chopping greens into really tiny small strips. I put them in a bunch rolled them up and cut them with kitchen shears/scissors.
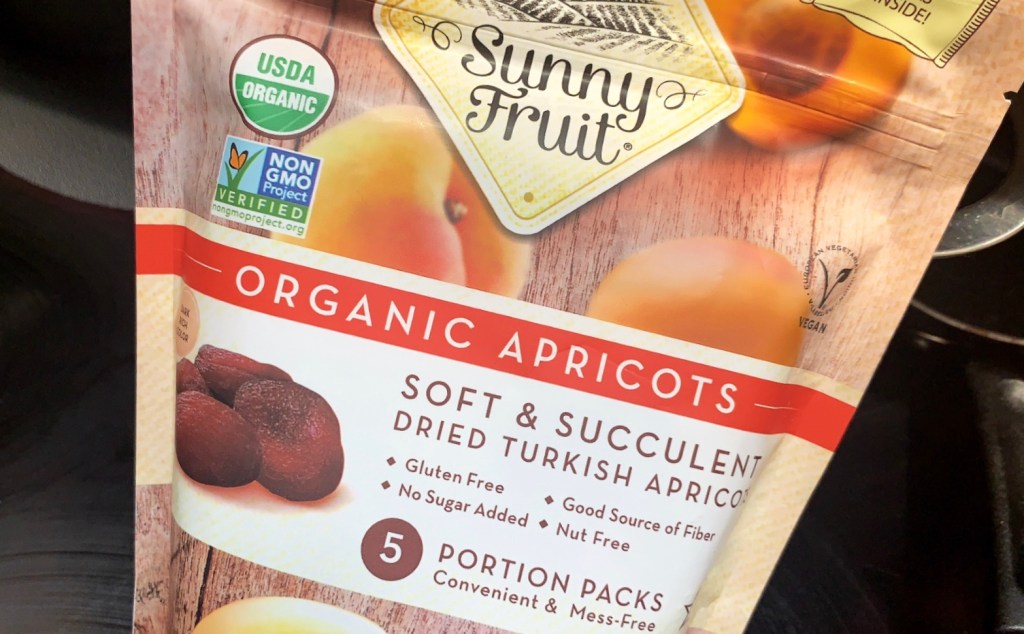
Then in a large bowl combine greens with a little bit of coconut oil – (like maybe a teaspoon or so), sprinkle a little salt, cumin, and garlic granules (to taste). Mix all together. Then in the pan put another teaspoon or two of coconut oil (depending on how many greens you have), sliced roasted garlic and sliced dried apricots (I had these already on hand because I’m trying to cut sugar and these are a really sweet and good alternative to gummy bears…lol).
The roasted garlic I had already pre-cooked a day earlier. Its good to always have this handy as it goes with a lot of stuff and its good for you! Mix the sliced apricots and garlic in the med-hot oil, then place the greens in and sauté them until the desired tenderness. No more than 5-10 minutes.
Last, I put them in the air fryer on low for 5 mins. Be careful not to over cook in the saute process or burn in the air-fryer.
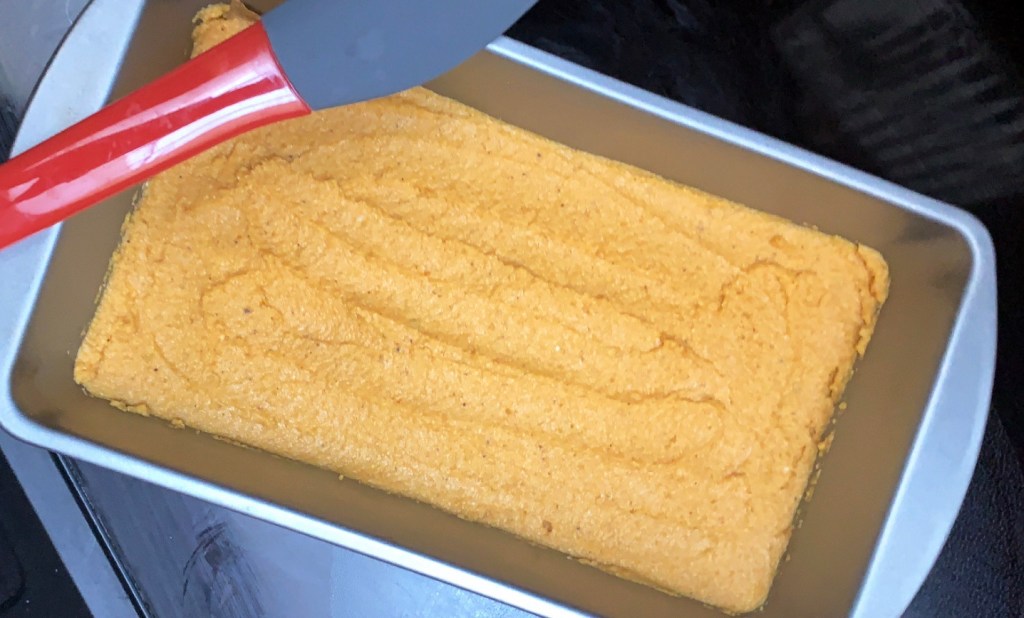
I’m on a journey. A journey to free myself of my processed sugar addiction. Been hearing a lot of great things about nuts and dates, which are the two main ingredients here plus 3 other small things with a total of 5 ingredients in all. While ordering a few things, I found this awesome recipe on the nuts.com website – It inspired me to create my own masterpiece by making a few of modifications; Simultaneously I was just in receipt of an order of fresh raw organic cashews from terrasoul.com. Heaven! Our take on the original recipe is here 🌱 :
I just love the gross sound of nut juice. Let me start by saying, I’m not an extremist by any stretch the imagination, well maybe when it comes to exercise, but even then I take a break from time to time; But when I found out that milk consists of mainly cow puss I had to make a change. Yes – COW PUSS!
In general, I began educating myself on the benefits of a plant-based diet more and more. I do however still feel that meats are important role in my personal health’s eco-system and have not fully (and probably will not ever) go 100% plant-based. My diet is 75-80% plants.
I even consider pasture raised eggs are important to have. Areas that I feel the need to cut animal proteins particularly are lower quality meats and straight dairy. For the 20-25% consumption of it that my body requires, I’m being responsible and am paying close attention to where and how my meats are sourced. I’m sticking to meats that are either wild, organic and/or grass-fed. In the area of dairy, my biggest culprit is cheese. Being more conscious of my intake here, I’ve cut off about 50% of my consumption off the top, and am gravitating to goat, organic and hormone-free varieties.
Historically, even a small container of milk would go bad in my place. As a kid I was not a huge milk drinker, so this one was easy-ish. Except, while living in Cali I developed a huge liking for iced coffee with half-n-half. I desperately needed to find a solution because I really really enjoyed this beverage in the mornings to get my engine going, sometimes in the afternoons and from time to time, I’d cook with it. So I used it enough to warrant wanting to find an alternate solution.
I started with nut beverages like almond and cashew but wasn’t an immediate fan mainly because I felt these were way too processed given the additives put in some of thesm. I barely gave soy a try because of the estrogen factor and it tastes horrible in general. I finally gave oat milk a try. It was actually an oat/cashew blend that was on sale. I loved it! Then one day as I was approaching the end of it, it like a huge brick out of no where it hit me! Wait, rather than spending an arm and a leg in Whole Foods Market on something that will likely spoil before I use it all, I can make this much healthier and with minimal fresh ingredients at home.💡
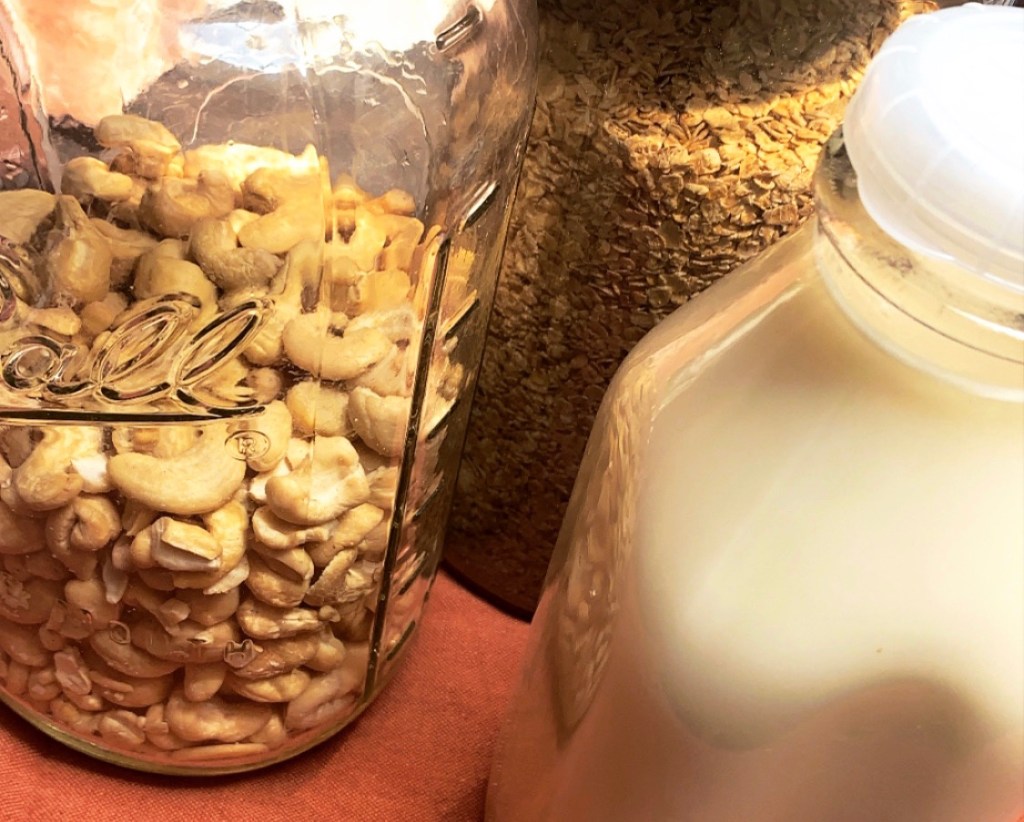
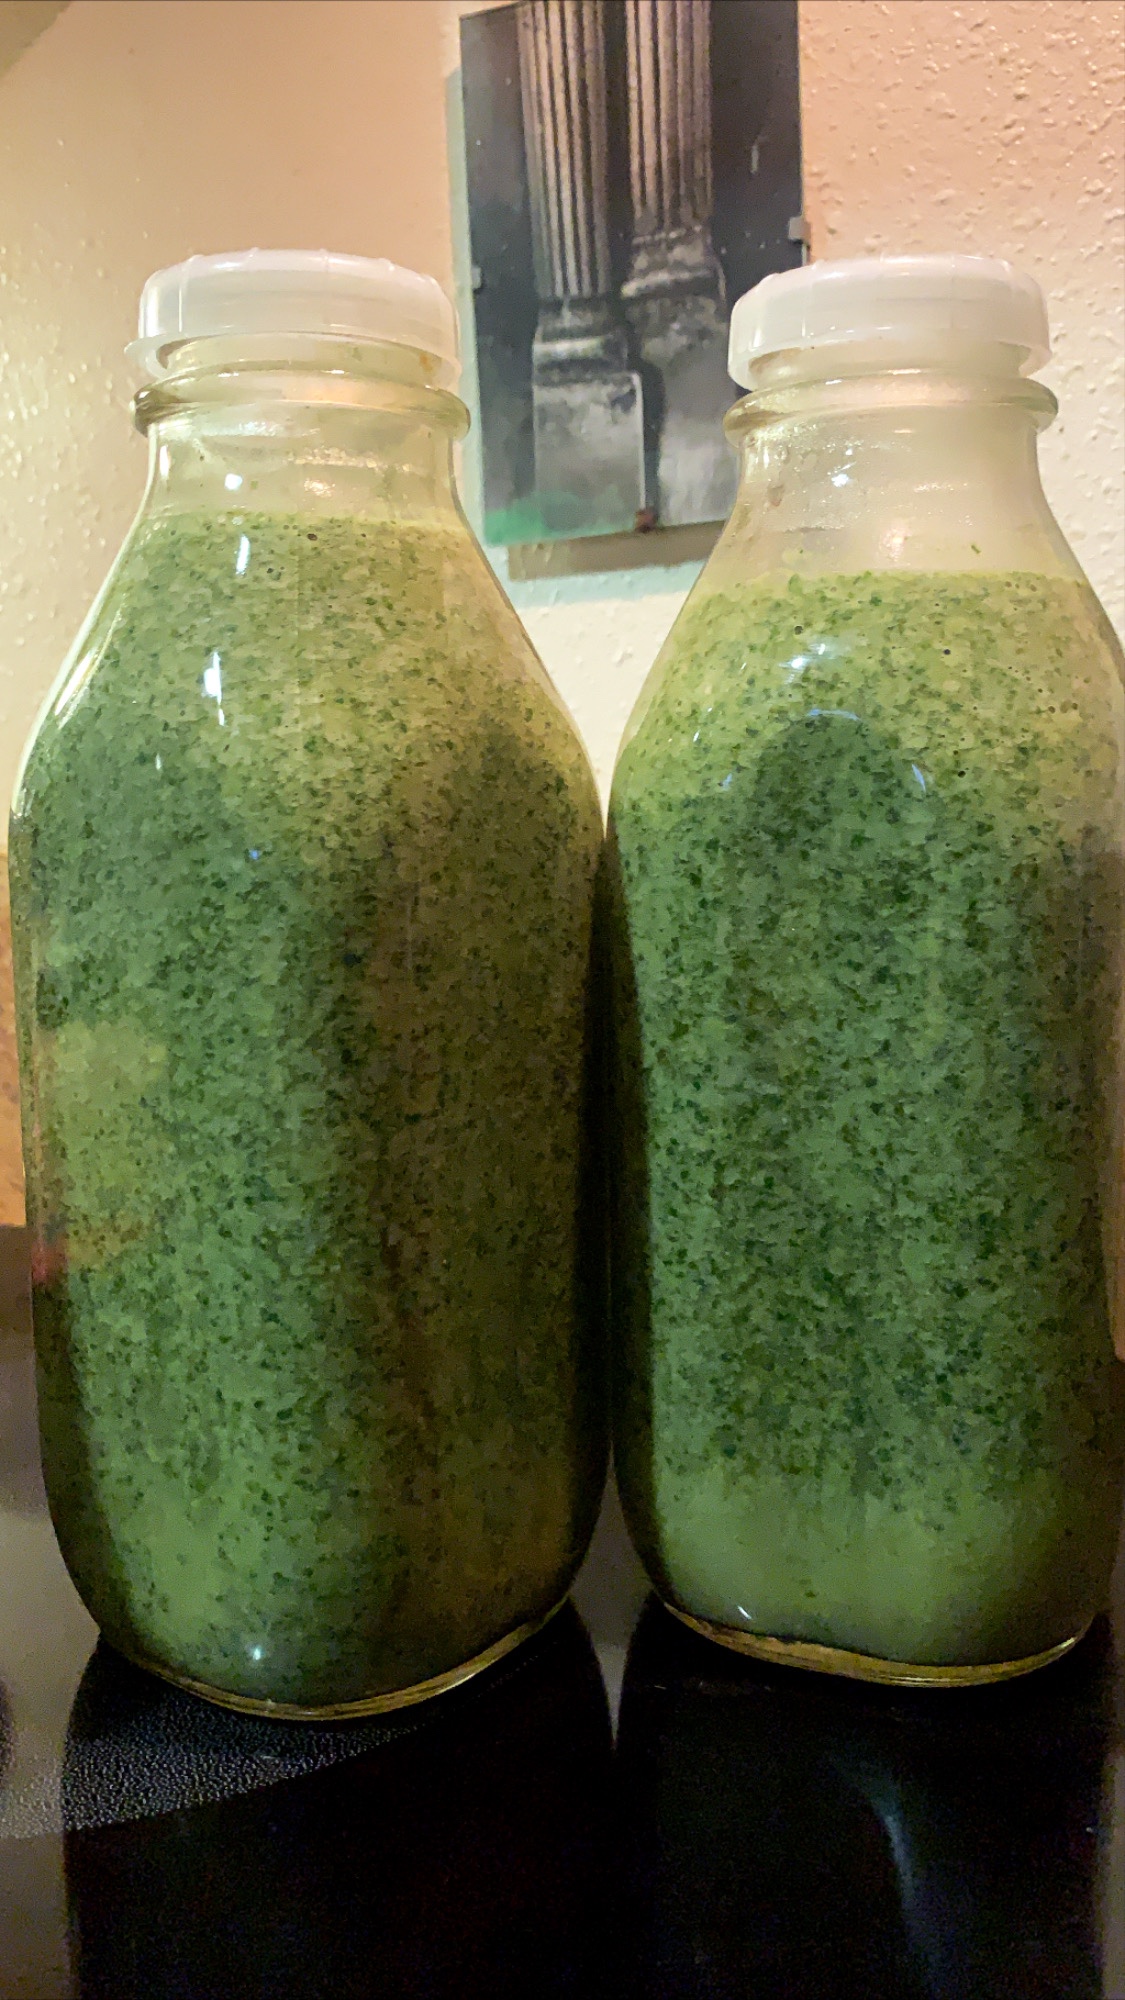
I’m so glad I did! I’ve researched tons of online recipes and came up with my own creamy tasty version made with only 3 whole food ingredients + water. Try it and thank me later Talking about eating bare ass naked – this is it!!
Ingredients:
1 handful of raw cashews
1 quart filtered water
1-3 dates depending on desired sweetness
1/2c rolled oats
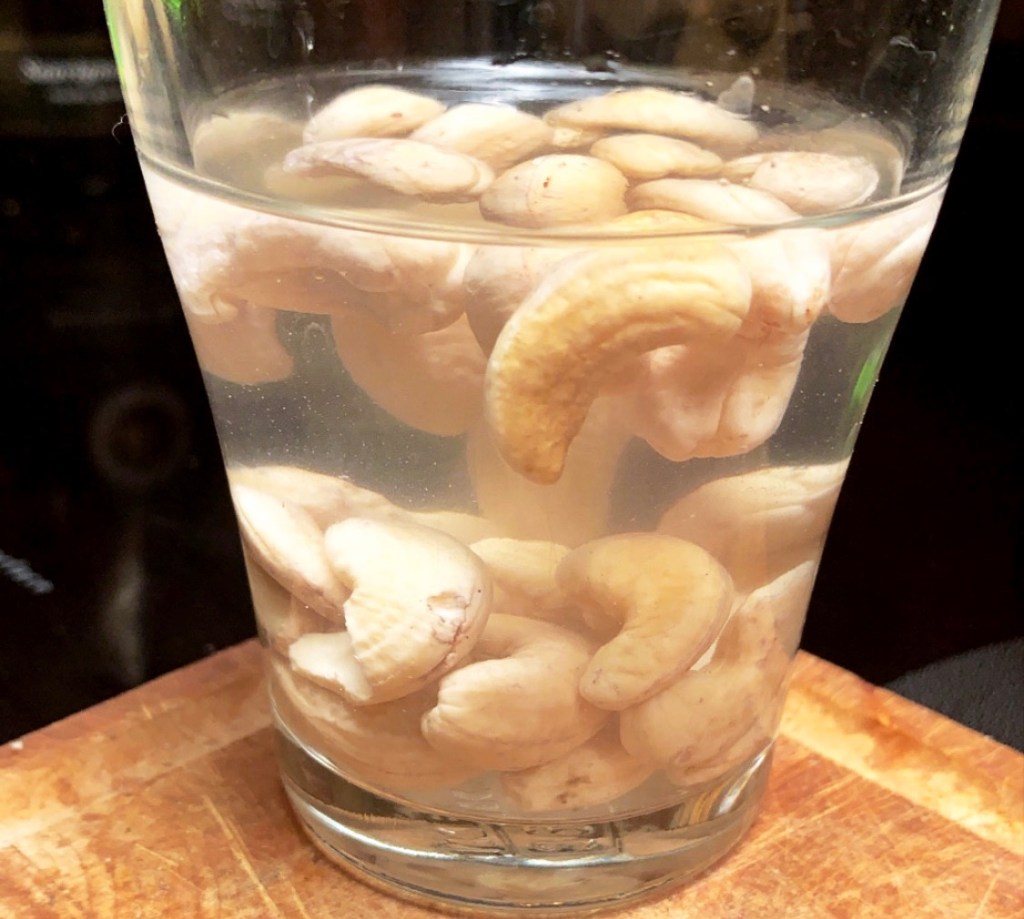
WET NUTS
Process:
• soak cashews in water at least 45 mins (you can do it overnight as well)
• put soaked cashews + water + dates into blender and mix for 20-30 secs on high
• add oats and continue to mix on high for 10 additional secs only
• run liquid through a nut bag
• squeeze remaining liquid out until your left with dry pulp
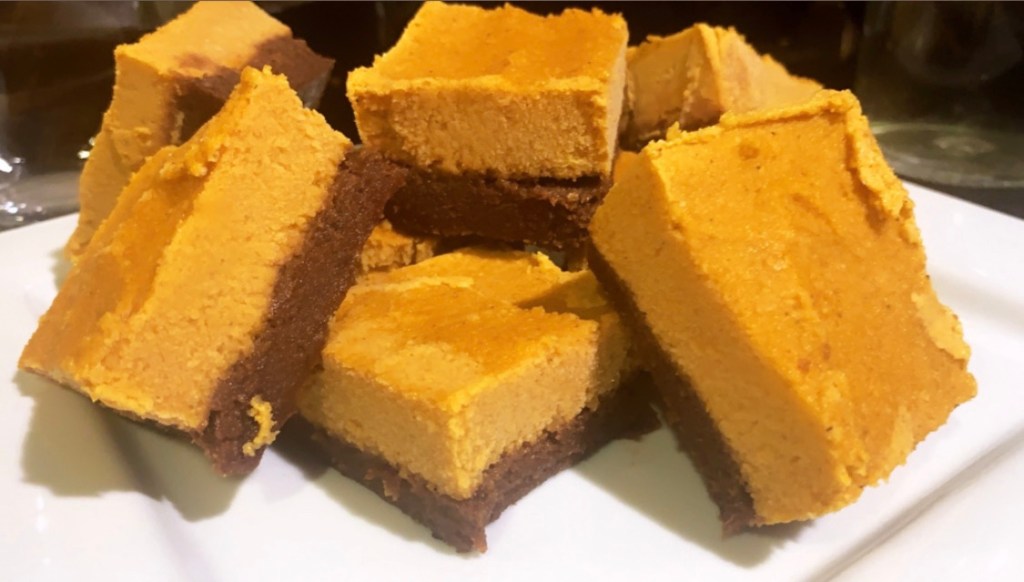
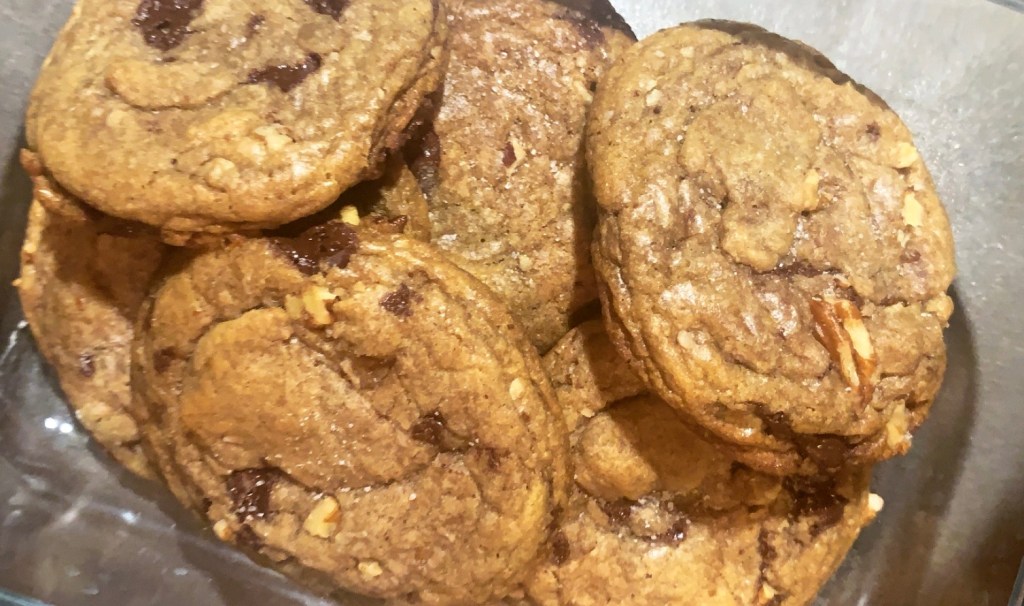
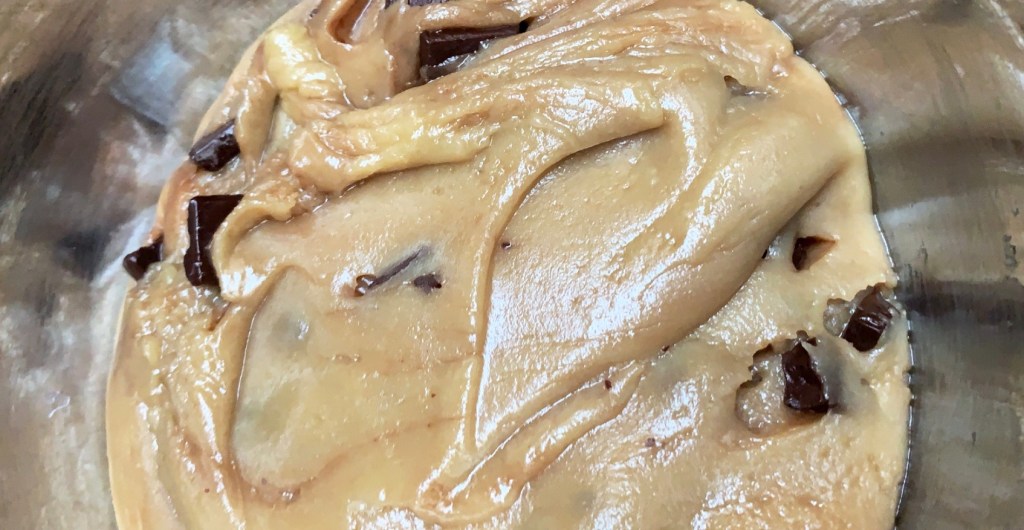
Ok ok, i know I’m falling off the healthy wagon posting cookie recipes lately, but hey these are health(ier), recipes. After all, these recipes are made at home with no preservatives and healthier ingredient options to choose from based on your dietary preferences. Prime example – these can be made vegan by using coconut oil, coconut milk and dairy-free chocolate chips. Hey, remember although healthier, no one ever said that eating vegan was lo-cal. Portion control is key!! One of these at a time would be a treat without feeling too guilty. Try it! Self control combined with healthier ingredients are always a win/win. Can’t wait to make these for my partner and parents.
Ingredients 100g granulated sugar 100g brown sugar 270g flour 1 tsp baking soda 1/2 tsp salt 112g coconut oil or butter 3 tbsp full fat coconut or regular milk 3 tbsp aquafaba (chickpea water) or egg 2 tsp vanilla extract 120g large non-dairy chocolate chunks
Preparation – Mix granulated sugar, brown sugar, melted coconut oil, aquafaba (egg), coconut milk and vanilla extract until combined
– sift in flour and baking soda
– add salt
– fold in the dry ingredients with spatula until it forms a dough-like texture
– fold in the chocolate chips (and nuts) until evenly dispersed throughout the batter
– cover with lid and chill for 30 minutes
– preheat your oven to 355
– line 2 baking trays with parchment
– portion cookie dough into equal sized medium balls
– scoop narrow balls with 2 inches bet.
– bake 12-15 minutes (cookies should feel soft when taking out of the oven. They’ll harden as they cool)
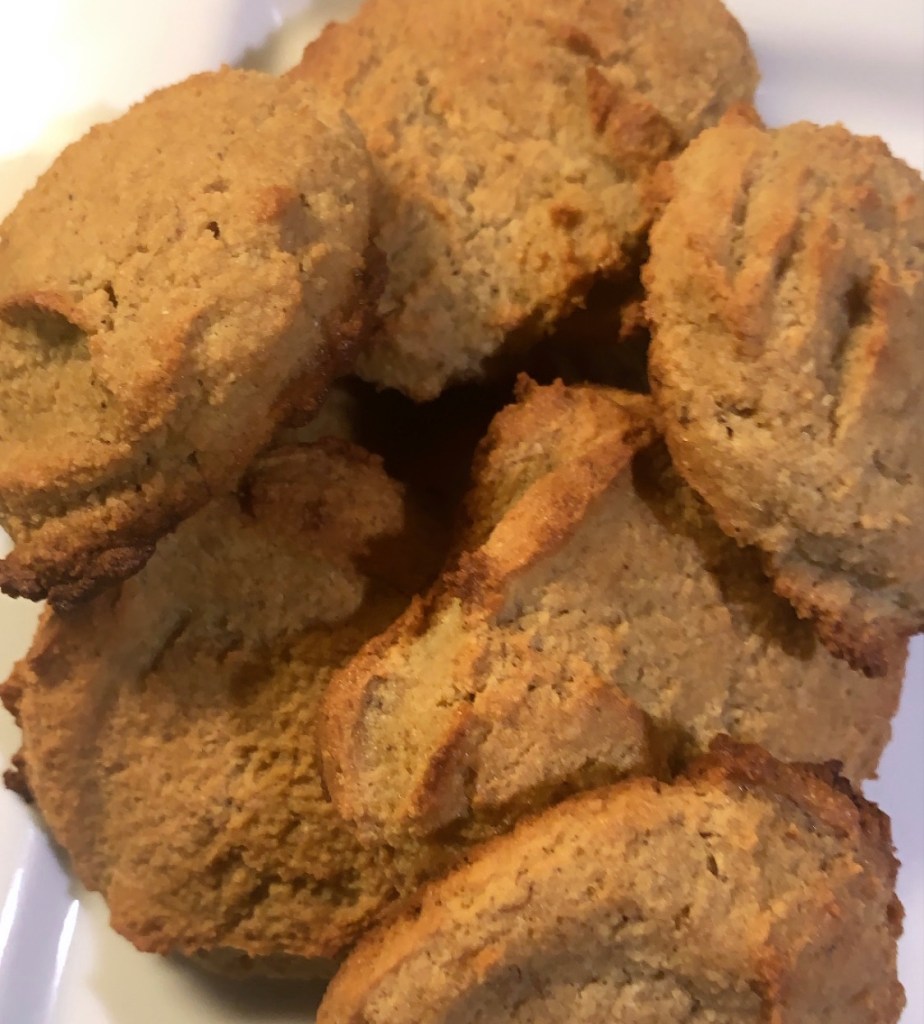
Leave those Lenny & Larry’s high carb/low quality protein cookies on the shelf! Hey y’all, yup I’m still on a plant-based kick these days. Also wanted something low-carb and minimally-to-non processed; so I was inspired, since I also had a very ripe banana – to make these light, yummy, non-greasy delights. They remind me of short bread cookies. Note, the ingredients are adapted from an online recipe. With my modifications, they were amazingly good and they’re only going to get better as I bake them more. They also yield less than 10 cookies per batch, so no worries that you’ll get stuck with a ton of leftovers.
1 1/2 cups almond flour
1/4 teaspoon baking soda
1/8 teaspoon sea salt
1/4 teaspoon cinnamon
2 tbsp pure maple syrup
.5 cup – 1.25 cup overly ripe mashed bananas (our recipe was on the lesser side)
1 egg (optional)
Instructions:
Preheat the oven to 350℉ and line a baking sheet with parchment paper
Add the almond flour, baking soda, salt, and cinnamon to a bowl and mix well
Mash the bananas with a fork and add them to the dry ingredients (I mash, then measure)
Add maple syrup
Mix with spoon until ingredients are evenly mixed
With a 1.5 tbsp cookie scoop, scoop the dough onto the baking sheet
Flatten cookies with a fork or back of a spoon softly.
Bake for 26-30 minutes until the middles have set and aren’t wet (27/28 minutes is perfect)
Take out of oven, place on a plate to cool
eat at room temperature
Keep in an air tight container in the fridge for up to 5 days
With all the talk around Covid and the fact that African Americans are dying at alarming rates partly due to cormorbitities that are in large part very preventable with certain diet choices and/or changes. This reality has caused me to dig a little deeper into the investigation of seeing how a more plant based diet would benefit me by consuming less animal protein and processed foods.
Growing up in the late 70’s, 80’s hitting adulthood in the 90’s, those people I knew that adopted this “vegetarian” lifestyle (as the terms “vegan” and “plant-based” weren’t yet conceived) – for the most part these people ate all of this unhealthy fried, fake meat/processed bullshit; Fast food included – as long as it didn’t contain meat. And frankly, in my opinion, it was arguably way less healthy than a meal with responsibly sourced low in saturated fat meals with quality animal protein options.
Fast forward, its 2020 and the vegan plant-based industry is booming in that this time around, its a much healthier approach to now, a “plant-based” approach that includes more WHOLE foods and less processed/cancer-causing foods than existed in the 90’s and prior.
This article provides a simple way to start eating more in this direction without much stress. Also, lets face it, eating this simple doesn’t need to break the bank ala Whole Foods Market-style. Eating a diet that is predominantly void of meat protein should – and is – cheaper, even with organic foods. Note everything doesn’t need to be organic. Refer to the Dirty Dozen/Clean Fifteen list.
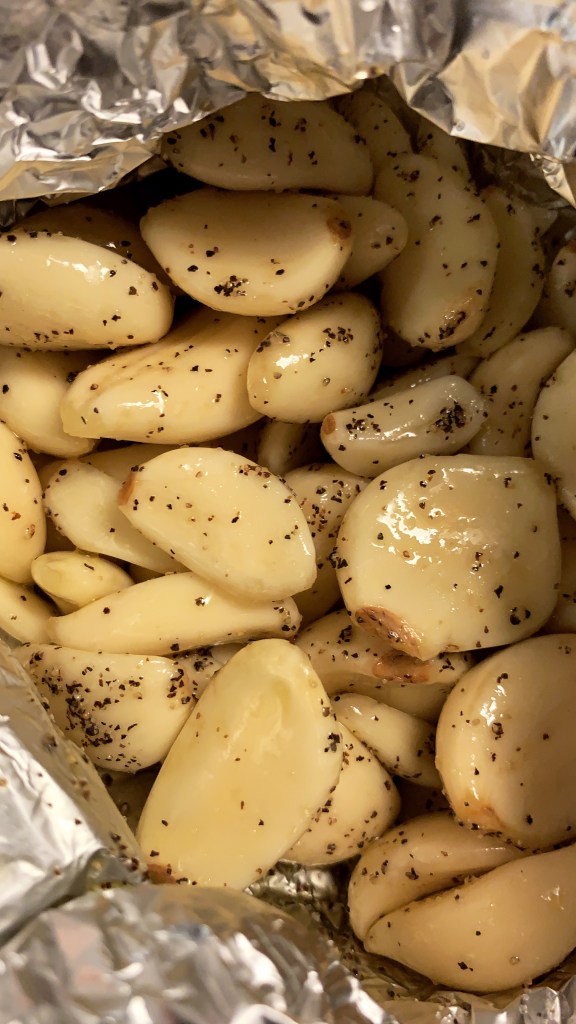
For this meal, lets start with the frosting. The frosting on the cake to this meal is the roasted roasted garlic. Its so deliciously sweet and takes time to prepare. We do this at the very beginning since it takes the longest to prepare but the goal here is to make enough to last several meals but not so much that it goes bad before you can eat it all – but trust us, if you’re cooking daily or regularly at home you wont waste it. Place a handful (or more) of peeled garlic cloves in aluminum foil and drizzle with EVOO – (extra virgin olive oil) dont be too shy here, topping with salt + pepper. Place in a baking dish. We used a small cast iron pan. Cook on 400 for an hour, tossing/stirring every 20 minutes. When ready, and after cooling a bit, use desired amount and save the remainder in the fridge by storing in a glass jar along with the EVOO from the roasting for later.
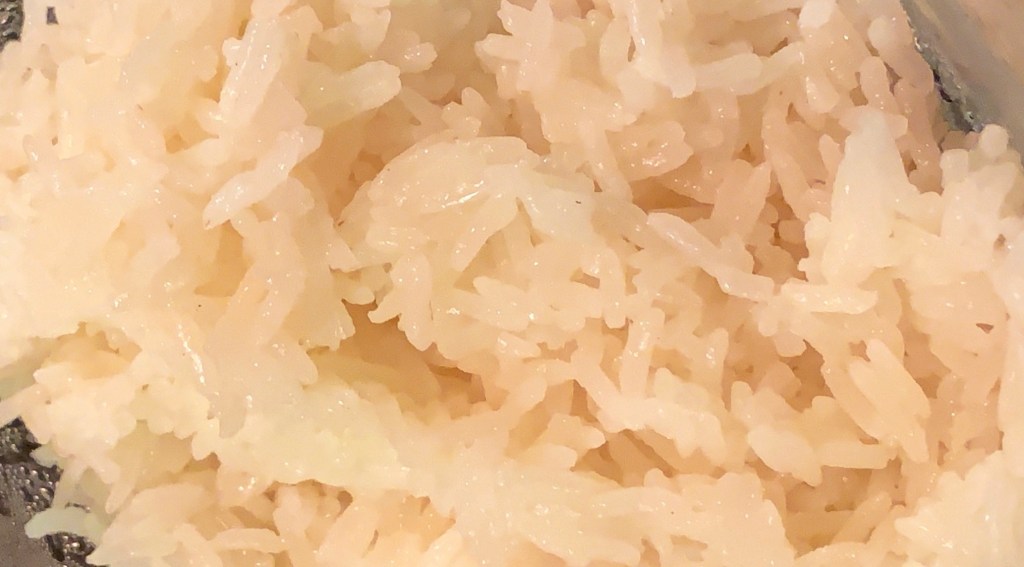
Rice comes in many colors and grains. For the purpose of this article, we’ll use white jasmine rice. In terms of methods, I’m now hooked to the instapot way! It’s mainly a “set it and forget it“ process to the perfect rice and it goes like this…(1) clean and measure 1c of jasmine rice (2) place into instapot (3) add 1c water (4) set on High Pressure for three minutes (5) when done let it release naturally for 10 mins then release remaining steam over stovetop air vent. (6) rinse rice in a strainer to remove some of the stickiness, let drain and add liquid fat of choice in stainless steel bowl and mix adding salt to taste. Store unused portion in the fridge.
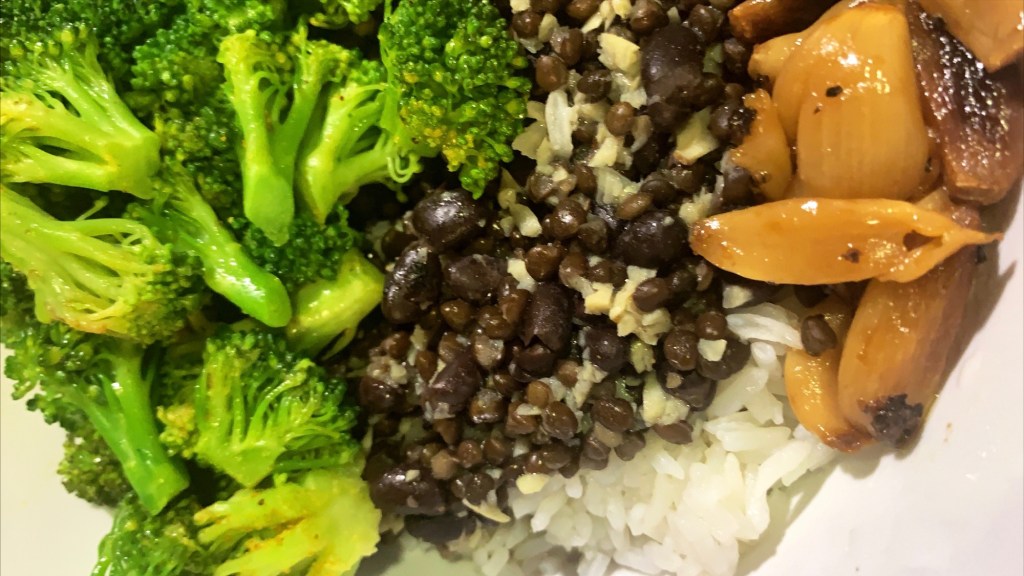
Black beans and lentils! This is the meat of the meal and starting out, the goal here is to make it simple and non-intimidating but delicious. For simplicity sake, lets use organic drained canned black beans and lentils (1 container each).
This is where it gets good. After draining and rinsing the beans + lentils, add curry powder, onion powder, salt, pepper to taste. Last, add a can of full or low-fat coconut milk. If you want to get fancy, add minced garlic + chopped onions. We even mixed vindaloo curry and regular curry to add a bit of debt and kick to the curry taste. Let all of this simmer slowly at a low heat, stirring periodically.
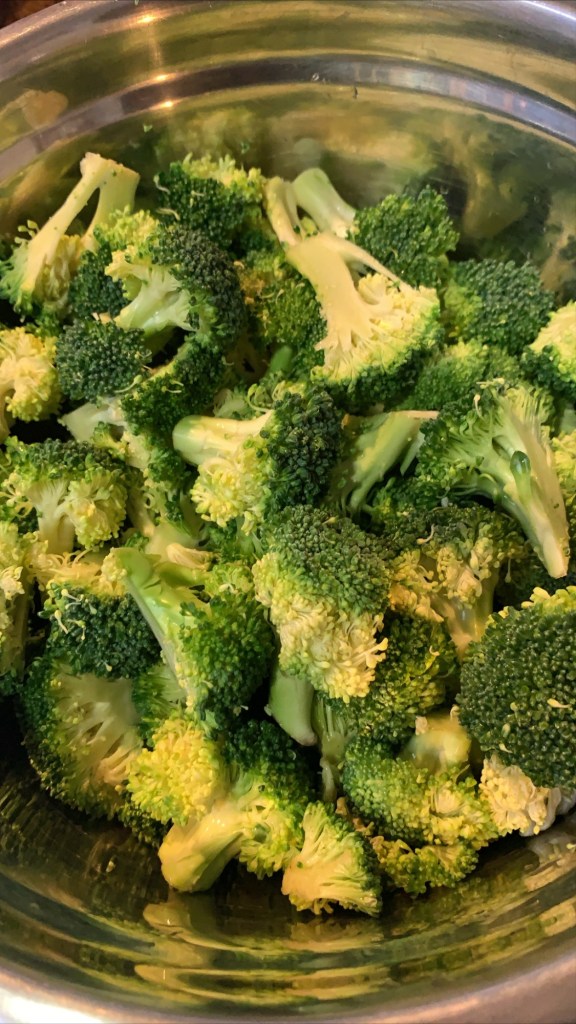
Broccoli – To retain most of its nutritional value (outside of eating it raw), can be prepared baked, steamed or air fried. We’ll use the steaming method for this article. If steaming, use an inexpensive metal steamer. This method will take the shortest time to prepare. Place a small amount of water in a boiler (0.5-1 inch from the bottom of boiler). Place the strainer in the boiler with the broccoli in the strainer and cover. Let water come to a boil, turn down heat to medium and let cook with steam for 5-8 minutes (depending on desired doneness). The crunchier the healthier + better! When done, place in stainless steel mixing bowls add seasoning and fat of choice. Toss + Serve.
When all ingredients above are ready, create a bowl with the rice as your base. Top with coconut curry beans + lentils. Adorn with broccoli and crown with roasted garlic. Wow, Yumminess overload!!
Trying something new in the way of plant based eating due to my over-consumption of plant based sensationalism this Covid 19 Memorial Day weekend by the likes of What The Health, The Game Changers and Forks Over Knives. I had always heard of these documentaries but never took the time to see them; and while happy I was able to get that level of awareness, I’m not sure I will 100% follow this lifestyle to a T, as many of the sensationalized claims have been debunked. As with all things, I tread responsibly and in moderation.
It’s unfortunate that the (meat) industry is what it is in many areas, and me deciding to make a change to go plant-based exclusively isn’t going to put a dent into the damage already caused by this industry on an agricultural level.
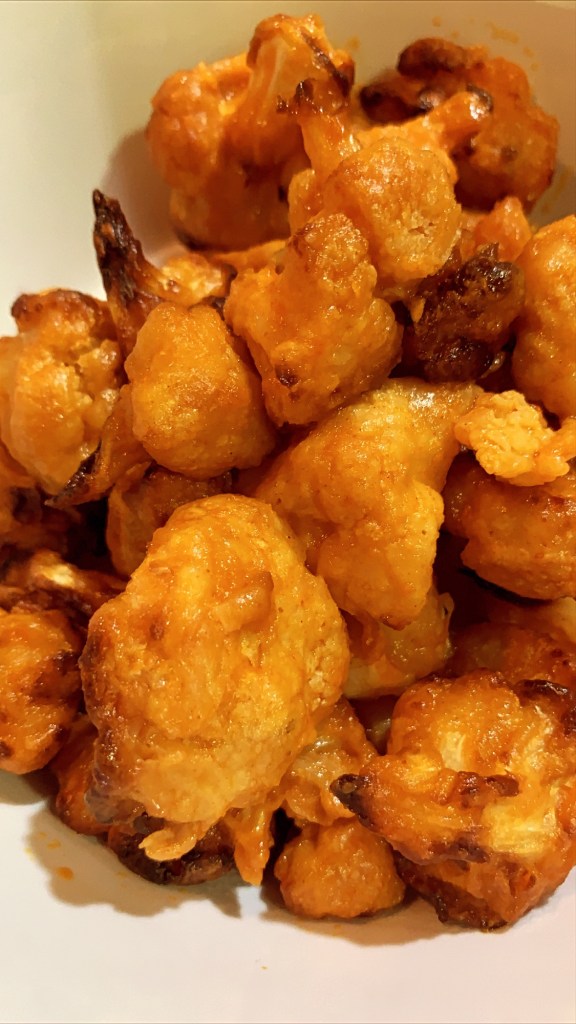
Healthwise, yes there is some truth to the sensationalized claims as most people have over consumed and abused meat to the point of disease, but the total absence of animal protein can arguably have its disadvantages. However a more balanced and inclusive plant-based diet can be of great benefit; And with that mindset, here’s a first shot at a plant based recipe I tried. It’s so good that the entire bunch was consumed in one setting.
Warning – While this recipe is still being perfected, I’m encouraging you to start with this as a base and modify it as you see fit. I personally would’ve preferred it just a bit crispier.
Conscious naked eating. Stay healthy. Enjoy!
INGREDIENTS
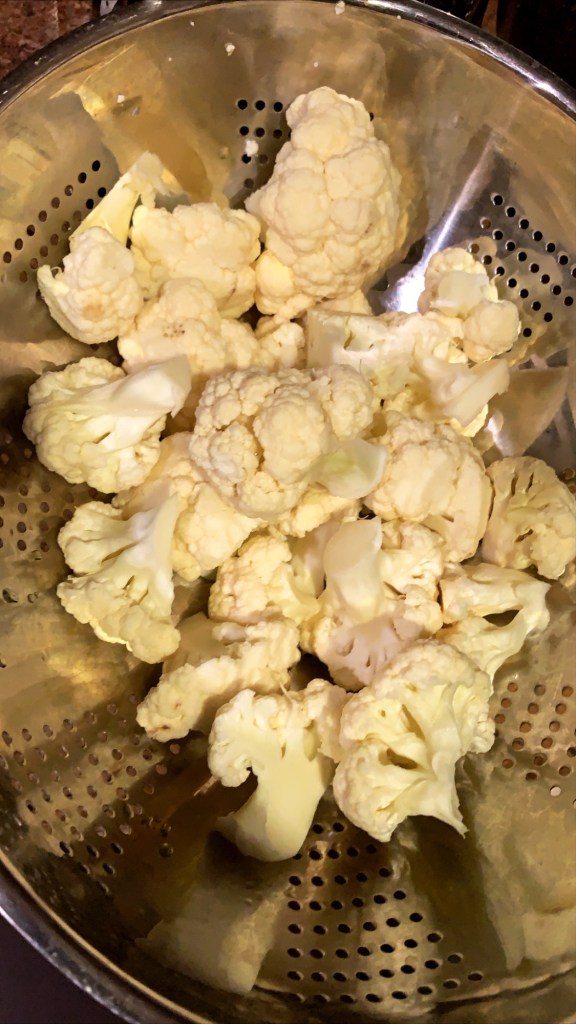
• Cauliflower florets, 1 head
• 3/4 cup flour (I mixed 1/2c flour + 1/4 tapioca starch)
• 1 tsp paprika
• 1 tsp onion powder
• 1 tsp garlic powder
• 1 tsp cayenne pepper
• 1 tsp salt
• 3/4 cup butter milk (or plant based beverage + 1 tbsp apple cider vinegar)
• 2 tbsp melted butter (or coconut oil)
• 1/3 c buffalo sauce (i.e. Franks)
PREPARATION
• preheat oven 375/400
• line 1-2 baking sheets with parchment paper
• Combined spices, and flour
• Add in liquid til batter is formed
• Place on baking sheets and bake 20 mins on each side
• Separately make the buffalo sauce by combining buffalo sauce + butter (or coconut oil)
• Toss cooked cauliflower with sauce
• Place in air fryer at 350 shaking periodically until desired crispiness
This recipe is for my HS classmate Sonya in Atlanta (adapted from a Rachel Ray recipe)! Yes you might have noticed that we’re loving our love of soups lately. Well its because, they’re quick, very easy to make, versatile [as you can have them as a side, appetizer or a complete meal (when adding protein like chopped chicken breast)]! And trust us – after making this a couple of times you won’t need this recipe at all. Yes, its that easy! Lets jump right into it as I don’t have a story to share behind this other than the fact that its delicious and that you might want to have some buttery pan-toasted sourdough bread to accompany this jewel of a soup.
One last thing I want to note here is that if you have a large amount of produce on hand making soups out of it is a good way for it not to sit in your refrigerator and go bad. I do this a lot with broccoli and cauliflower. Oh and if you don’t have one yet an immersion (i.e hand) blender, is an amazing investment for sauces soups smoothies, shakes, etc.
Ingredients:
* 1 quart of chicken stock
* 3 tablespoons of fat (butter, coconut oil, or ghee)
* 1 medium onion
* 2 large shallots (or another onion)
* 4 cloves of garlic chopped or thinly sliced (or as much as you want depending on your preference)
* 1/4 c all purpose flour (feel free to leave this out if you’re cutting carbs but its not much)
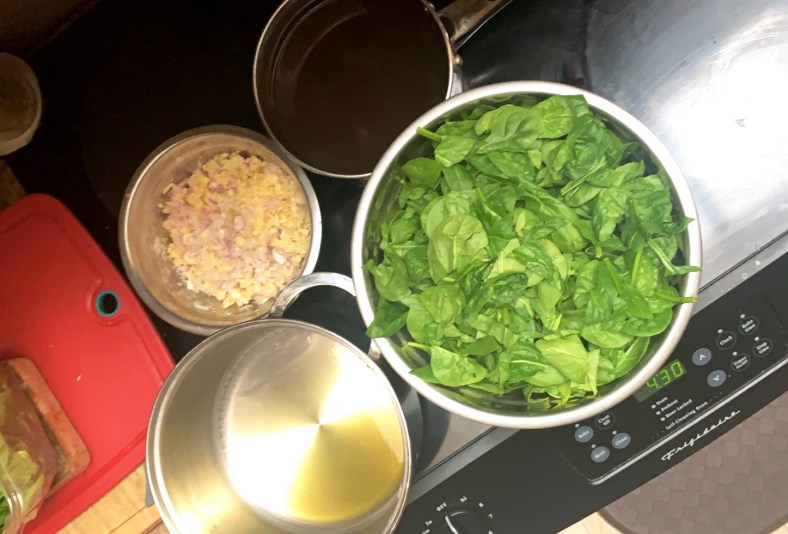
* 1.5 lbs of spinach coarsely chopped
* juice from half a lemon (roughly 1 tbsp)
* 1/2 cup heavy cream
* smoked paprika, salt, pepper (to taste)
Preparation:
> over med heat bring stock to a simmer in a medium saucepan (or heat in microwave 3-4 mins)
> melt butter over heat in large pot (medium heat)
> when butter melts and foams add in onion, shallots and garlic, then partially cover and cook while stirring for roughly 5 mins until they soften
> add flour and wish for roughly a minute
> wisk in the warmed stock
> add spinach and stir til wilted
> simmer 10-15 mins
> add lemon juice and season with salt + pepper
> use an immersion/hand blender to puree the soup (you may also use a regular blender or food processor to do this in batches then return to pot when finished)
> stir in the heavy cream
> simmer on low for 5 mins
> serve with a dash of smoked paprika and toasted sourdough bread
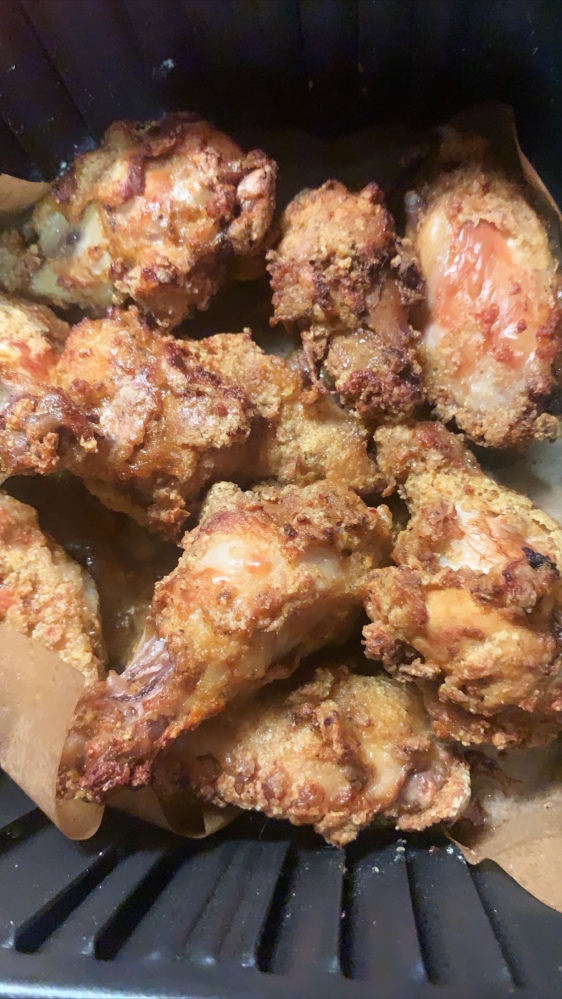
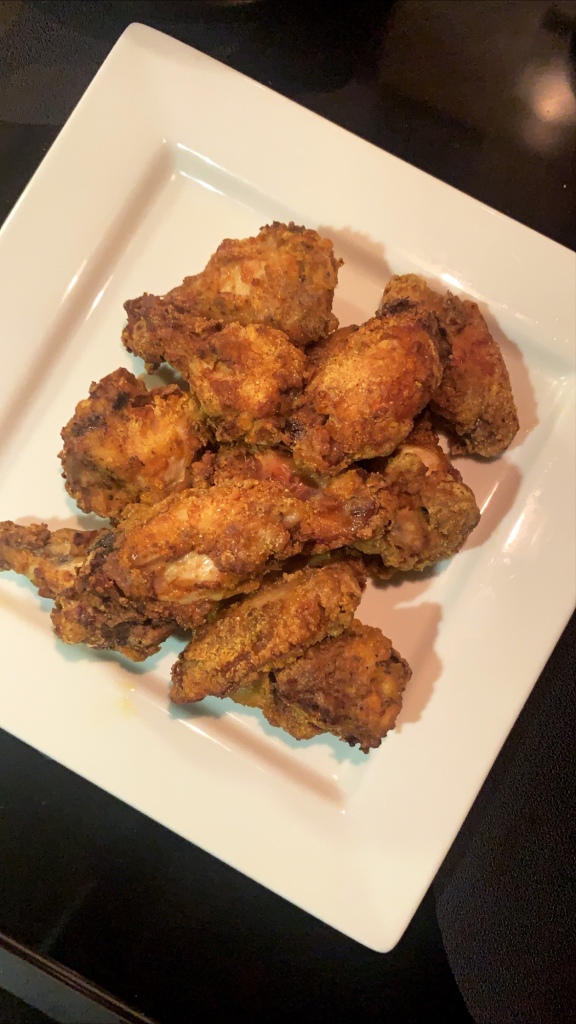
How can one not love the essence of a good wing? From hot to buffalo to lemon pepper to barbecue + all cooking methods in between from baked, to deep fried with breading to deep fried without breading, to grilled and finally the subject of this article – AIR FRIED! The new kid on the block.
Those of you that have been following our posts know that we’re not big on measuring exact amounts because we like to give you the freedom of seasoning to your own taste liking. This is especially in the case of non-baked foods. This being one of them.
Lets start with the main ingredient – WINGS! In this recipe we started with a package of cleaned organic wings from Costco (roughly 12 pieces mixed both drums + flats as separate pieces). Pat dry wings and season.
Season
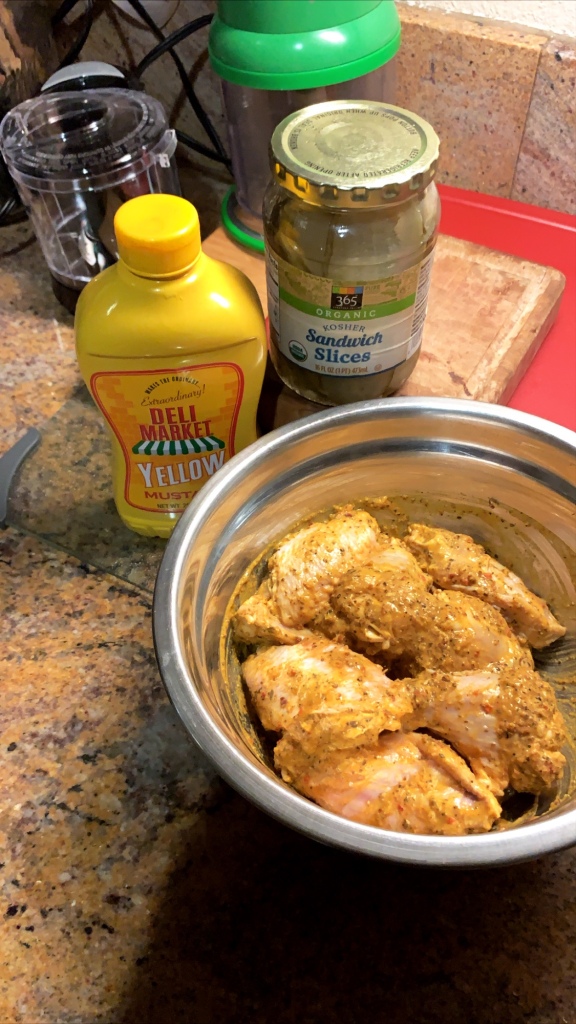
The basic seasoning used here is garlic + onion powder, blk + red pepper, salt of choice + paprika.
Marinade
In a small squeeze bottle, mix half yellow mustard and half pickle juice. Then coat the seasoned wings with the mustard mixture, gently combine til fully covered. Put in fridge and let marinate (ideally overnight but), at least a couple of hours.
Combine
In a separate bowl mix the the ingredients for the batter. Even amounts of the following will do (again not measuring anything): flour of choice, tapioca starch, generic fish fry mix or plain cornmeal into a medium ziplock. Add marinaded room temperature wings to the bag in thirds to effectively coat.
Remove coated wings from ziplock and place on a flat plate. Spray tops with avocado oil and gently place oiled side down on parchment-lined air fryer – not stacking them. When all wings are in fryer (oiled-side down), spray tops with oil and cook.
Cook
Cooking time and temps may vary per air fryer. We cooked these at 350-400 degrees for a total of 25 mins total (carefully turning halfway through). Monitor and discontinue cooking when wings are at the desired crispness.